Spring Cloud 微服务入门教程(一):微服务介绍 Spring Cloud 微服务入门教程(二):服务注册与发现-Eureka Spring Cloud 微服务入门教程(三):微服务的注册 Spring Cloud 微服务入门教程(四):微服务间的调用消费-FeignClient Spring Cloud 微服务入门教程(五):统一配置中心-ConfigService Spring Cloud 微服务入门教程(六):Spring Cloud BUS 消息总线实现配置中心动态更新配置文件 Spring Cloud 微服务入门教程(七):Spring Cloud Stream 消息队驱动式的微服务 Spring Cloud 微服务入门教程(八):Spring Cloud Zuul 服务网关动态路由和Cookie头信息传递和跨域 Spring Cloud 微服务入门教程(九):网关 Zuul 整合 Swagger2 实现自动生成 RESTful API 文档 Spring Cloud 微服务入门教程(十):Spring Cloud Hystrix 服务熔断和服务降级 Spring Cloud 微服务入门教程(十一):Spring Cloud Sleuth zipkin 服务追踪链路监控 Spring Cloud 微服务入门教程(十二):Spring Cloud Docker 容器化部署
代码 将在https://github.com/NeilRen/SpringCloudDemo进行分享,按不同的分支分享不同的章节代码,Master分支就是最后所有的内容合集。本章节代码在:https://github.com/NeilRen/SpringCloudDemo/tree/feature/demo-client
原创 本篇文章是原创文章,作者:任霏,转载请注明作者和出处
上一节《Spring Cloud 微服务入门教程(三):微服务的注册》我们讲了服务的注册,本节我们讲服务之间的调用,也就是作为服务消费者去消费其他服务,以及使用FeignClient来快速高效的调用其他服务。
新建一个服务消费者模块
新建一个名为「democlient」的模块作为消费者去调用「demoservice」提供的服务,如何新建模块参见上一章节文章,代码也上传到Github了,再次不再赘述,只关注新增的东西。「democlient」要比之前的「demoservice」多一个依赖:spring-cloud-starter-openfeign,POM文件是:
<?xml version="1.0" encoding="UTF-8"?>
<project xmlns="http://maven.apache.org/POM/4.0.0"
         xmlns:xsi="http://www.w3.org/2001/XMLSchema-instance"
         xsi:schemaLocation="http://maven.apache.org/POM/4.0.0 http://maven.apache.org/xsd/maven-4.0.0.xsd">
    <parent>
        <artifactId>cloud</artifactId>
        <groupId>net.renfei</groupId>
        <version>1.0.0</version>
    </parent>
    <modelVersion>4.0.0</modelVersion>
    <groupId>net.renfei</groupId>
    <artifactId>democlient</artifactId>
    <version>1.0.0</version>
    <name>demo-client</name>
    <description>演示服务</description>
    <dependencies>
        <dependency>
            <groupId>org.springframework.cloud</groupId>
            <artifactId>spring-cloud-starter-netflix-eureka-client</artifactId>
        </dependency>
        <dependency>
            <groupId>org.springframework.boot</groupId>
            <artifactId>spring-boot-starter-web</artifactId>
        </dependency>
        <dependency>
            <groupId>net.renfei</groupId>
            <artifactId>apicenter</artifactId>
            <version>1.0.0</version>
        </dependency>
        <dependency>
            <groupId>org.springframework.cloud</groupId>
            <artifactId>spring-cloud-starter-openfeign</artifactId>
        </dependency>
    </dependencies>
    <build>
        <plugins>
            <plugin>
                <groupId>org.springframework.boot</groupId>
                <artifactId>spring-boot-maven-plugin</artifactId>
            </plugin>
        </plugins>
    </build>
</project>
关于这个Feign
先说咱们使用的OpenFeign,是Spring Cloud 在Feign的基础上支持了Spring MVC的注解,如@RequesMapping等等,OpenFeign的@FeignClient可以解析SpringMVC的@RequestMapping注解下的接口,并通过动态代理的方式产生实现类,实现类中做负载均衡并调用其他服务。
Feign是Spring Cloud组件中的一个轻量级RESTful的HTTP服务客户端,内置了Ribbon,用来做客户端负载均衡,去调用服务注册中心的服务。
在「democlient」模块中新建一个包net.renfei.democlient.client包名,然后在包名下新建一个interface,继承统一接口中心的net.renfei.apicenter.service.DemoService,并添加@FeignClient(name = “DemoService”)注解,这里的name = “DemoService”,就是服务提供者的application.name的应用名称,FeignClient会去注册中心寻找服务提供者,代码:
package net.renfei.democlient.client;

import net.renfei.apicenter.service.DemoService;
import org.springframework.cloud.openfeign.FeignClient;

@FeignClient(name = "DemoService")
public interface DemoServiceClient extends DemoService {
}
在「democlient」模块中新建一个包net.renfei.demoservice.controller包名,然后在包名下新建一个类:DemoClientController,去消费DemoService提供的服务,代码如下:
package net.renfei.democlient.controller;

import net.renfei.apicenter.request.DemoRquest;
import net.renfei.apicenter.result.Result;
import net.renfei.democlient.client.DemoServiceClient;
import org.springframework.beans.factory.annotation.Autowired;
import org.springframework.web.bind.annotation.GetMapping;
import org.springframework.web.bind.annotation.RestController;

@RestController
public class DemoClientController {
    @Autowired
    private DemoServiceClient demoServiceClient;

    @GetMapping("/")
    public String getDemoService() {
        DemoRquest demoRquest = new DemoRquest();
        demoRquest.setMsg("This DemoRquest.Msg From DemoClientController.");
        Result result = demoServiceClient.sayMsg(demoRquest);
        return "You're visiting DemoClient. Call DemoService:{" + result.getMessage() + "}";
    }
}
测试结果
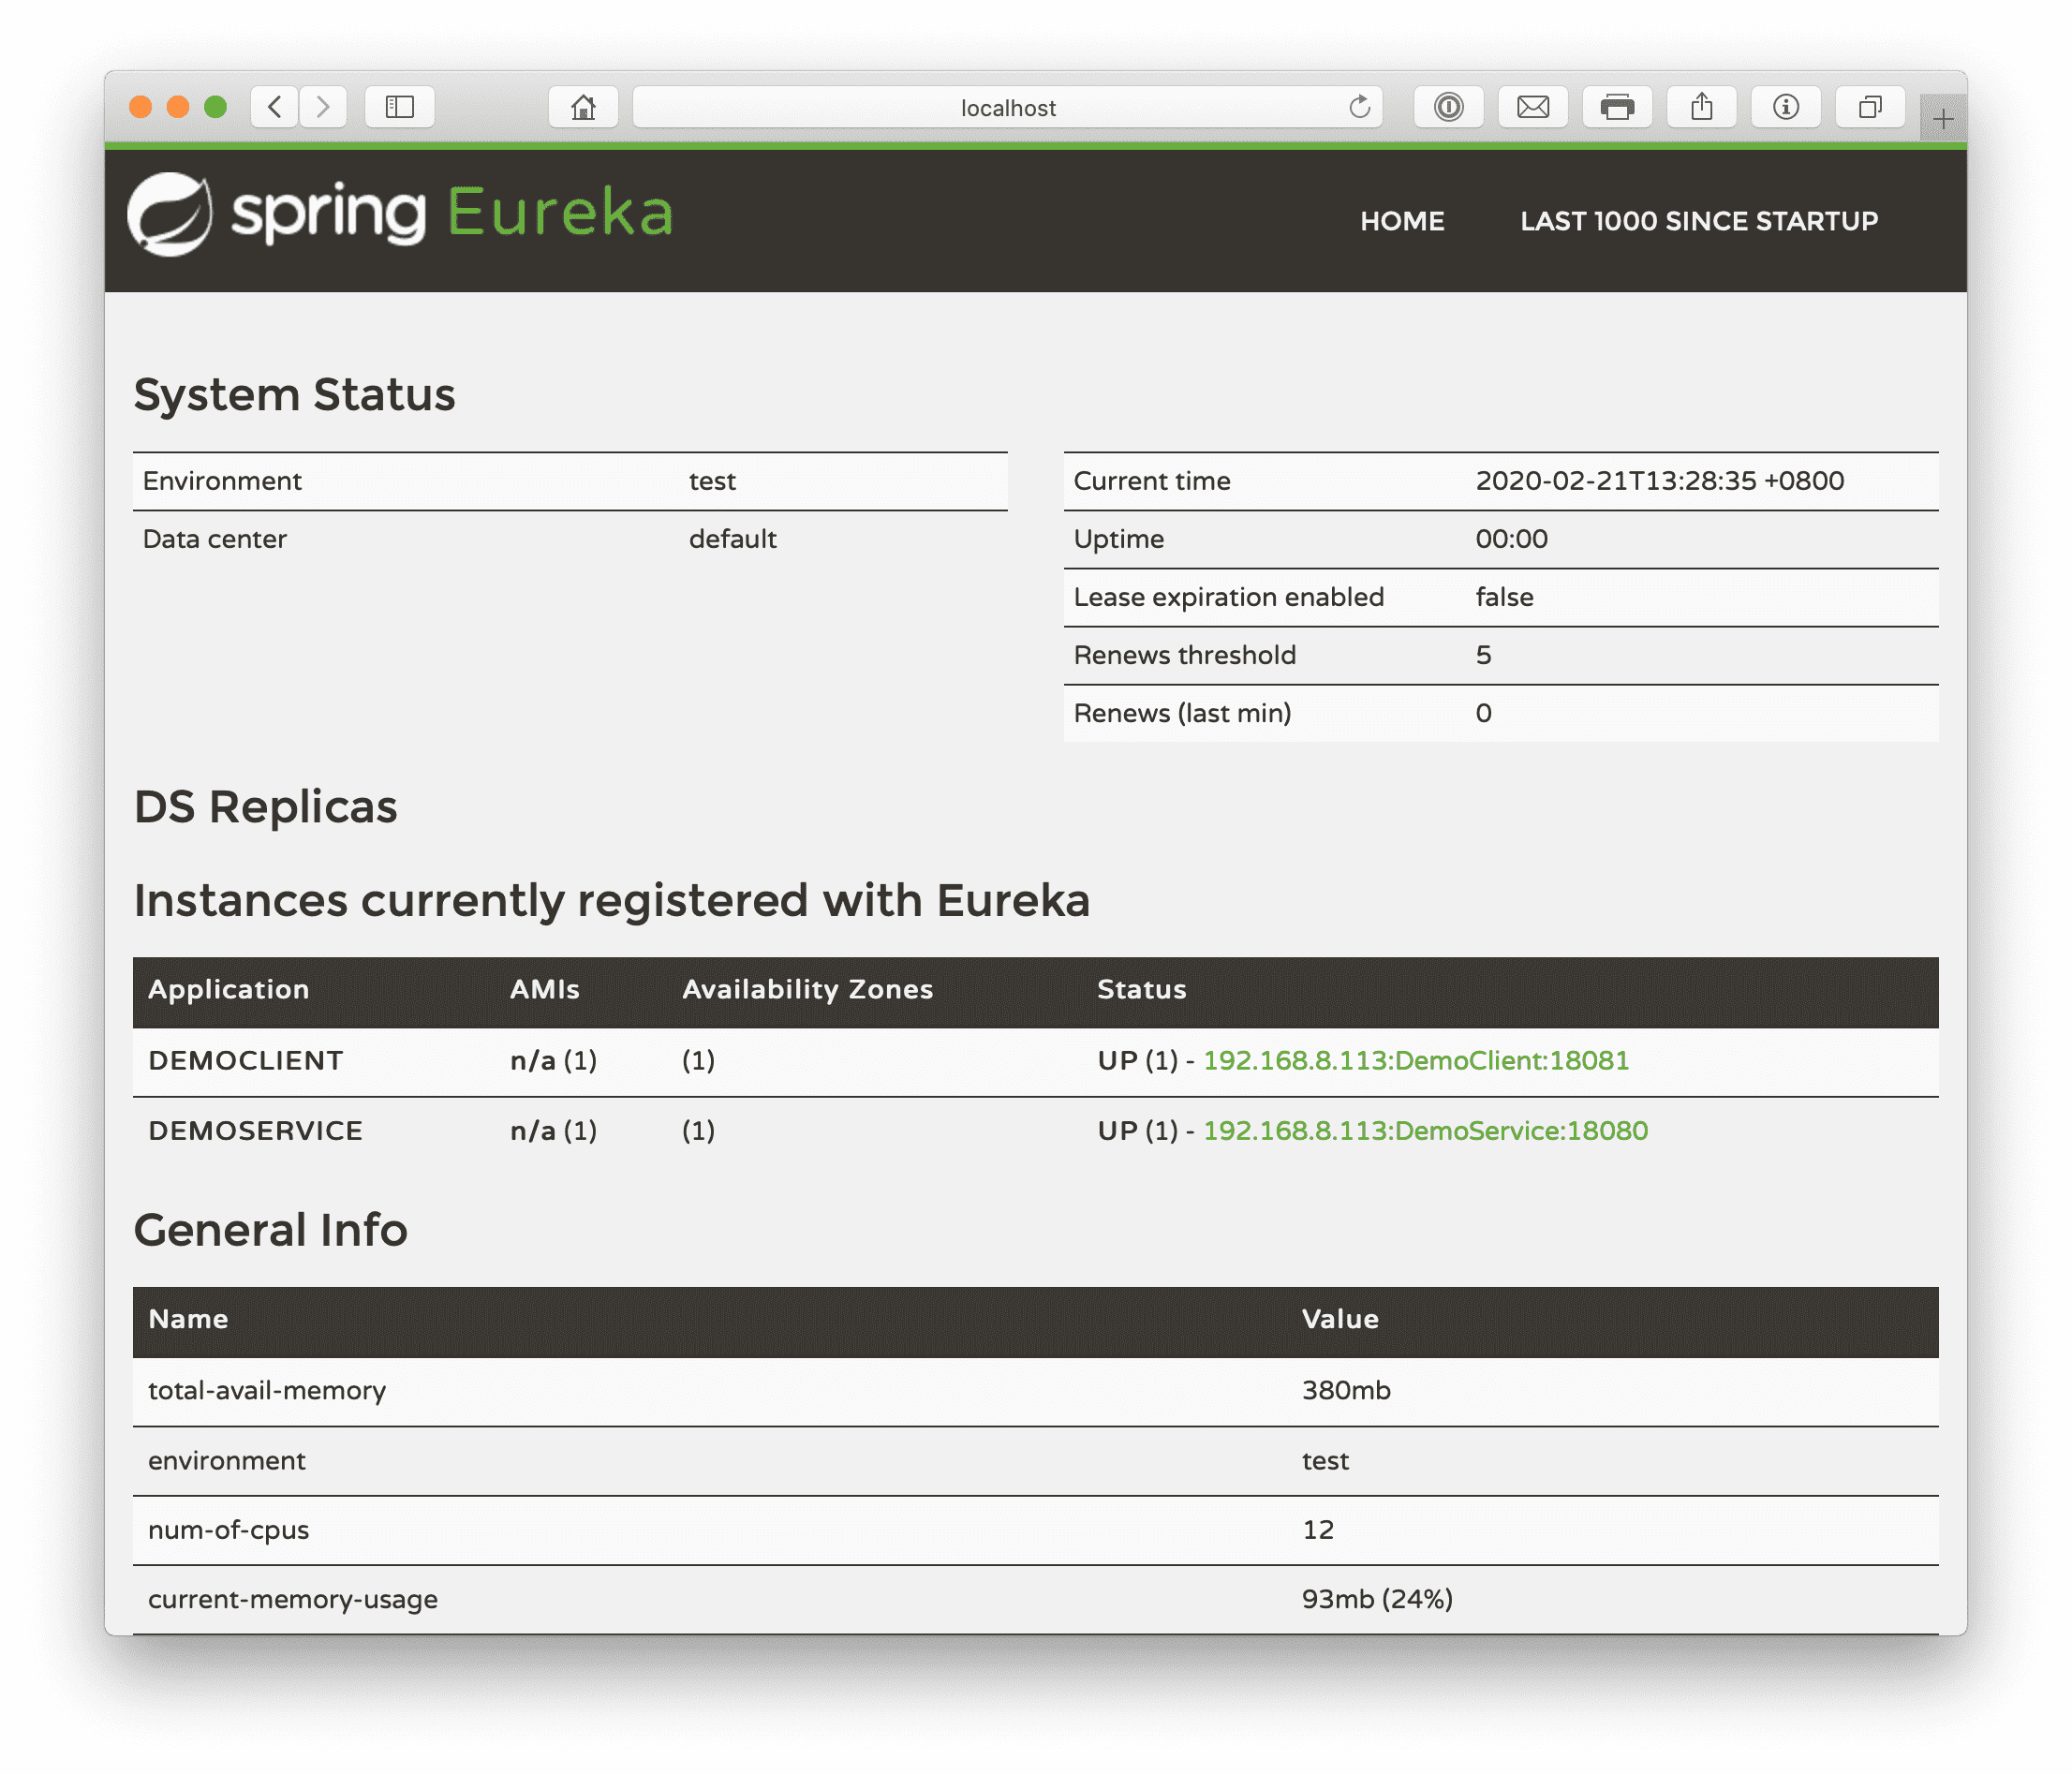
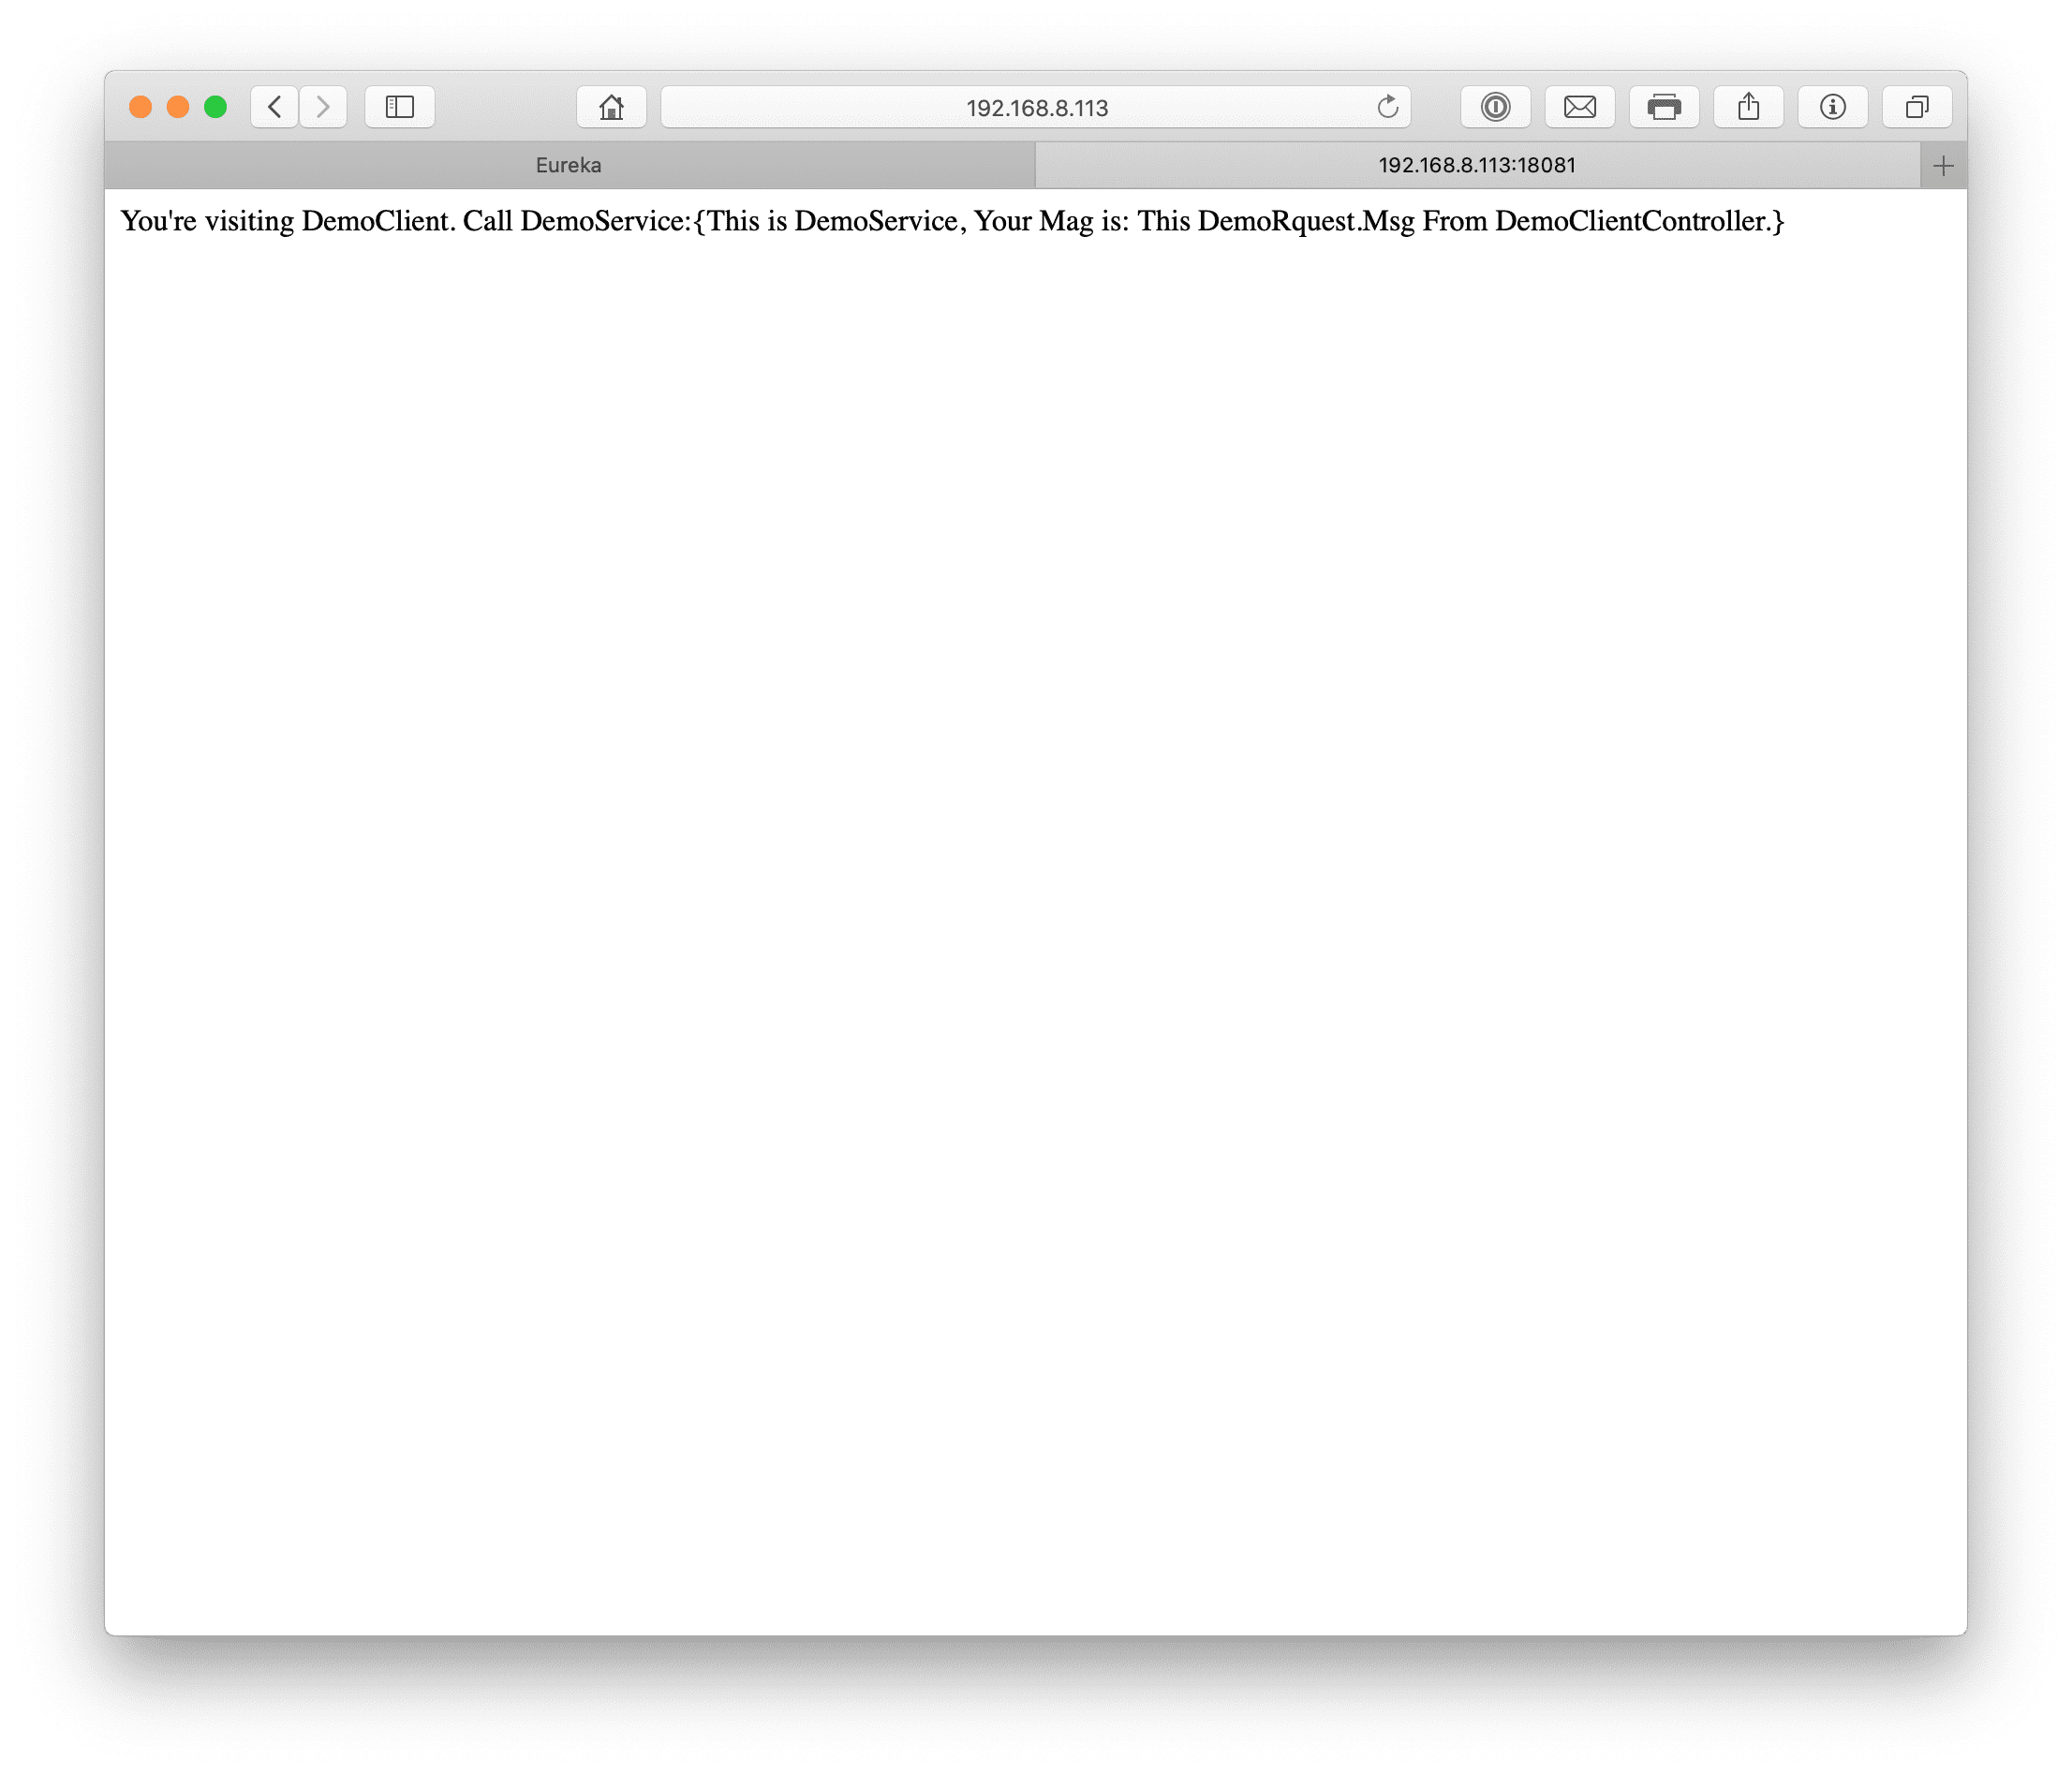
到这里,一个服务消费者就搭建完成了,下面我们开始测试一下我们的微服务,启动是有顺序的,先启动eureka注册中心,然后启动demoservice服务提供者,最后启动democlient服务消费者,打开注册中心可以看到两个注册上来的服务,我们访问democlient服务消费者的地址,在我的案例中是:http://192.168.8.113:18081,可以看到返回了“You’re visiting DemoClient. Call DemoService:{This is DemoService, Your Mag is: This DemoRquest.Msg From DemoClientController.}”,说明我们已经可以把消息传递给demoservice服务提供者,并且从demoservice服务提供者拿到了返回结果。
其他的问题
如果你看到democlient服务消费者有报错“com.netflix.client.ClientException: Load balancer does not have available server for client: DemoService”,那你可以尝试重启一下democlient服务消费者,原因是demoservice服务提供者可能还没注册上去,你就访问了消费者,这样消费者在注册中心找不到提供者,因为注册机制是心跳,有个频率,并不是马上实时的就注册上去了,在我的示例中遇到这个错误,一般是因为服务提供者刚刚启动,还没注册上去,你就马上访问了服务消费者导致的。